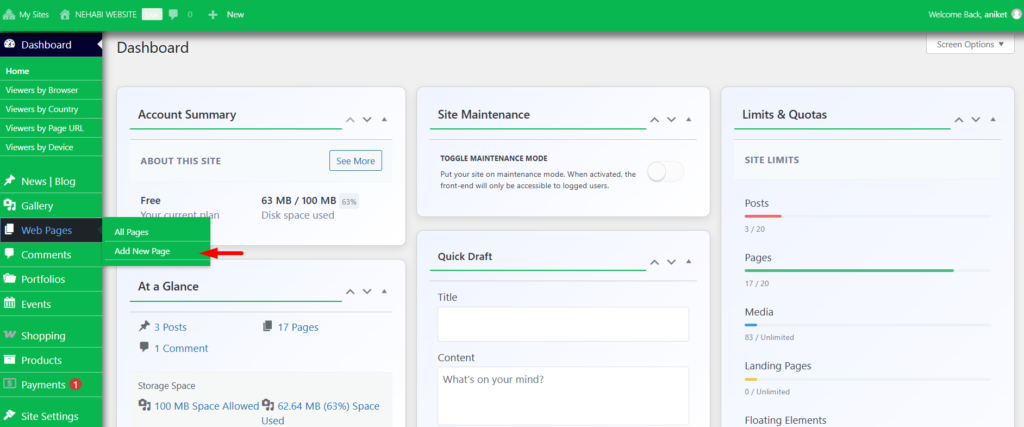
Step 1
To add a new page to your website, navigate to your dashboard and select “Add New Page.”
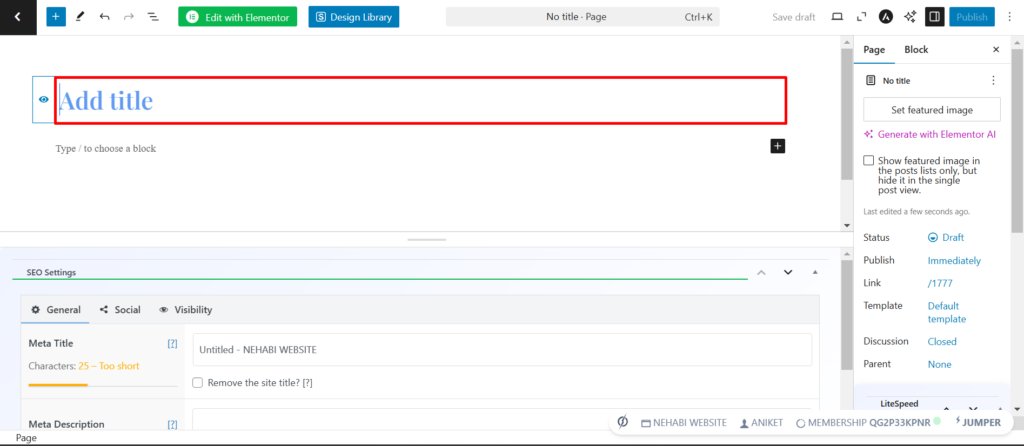
Step 2
Once the page loads, you will see an input field where you can enter your new page title. Look for the red box shown below to easily locate it.
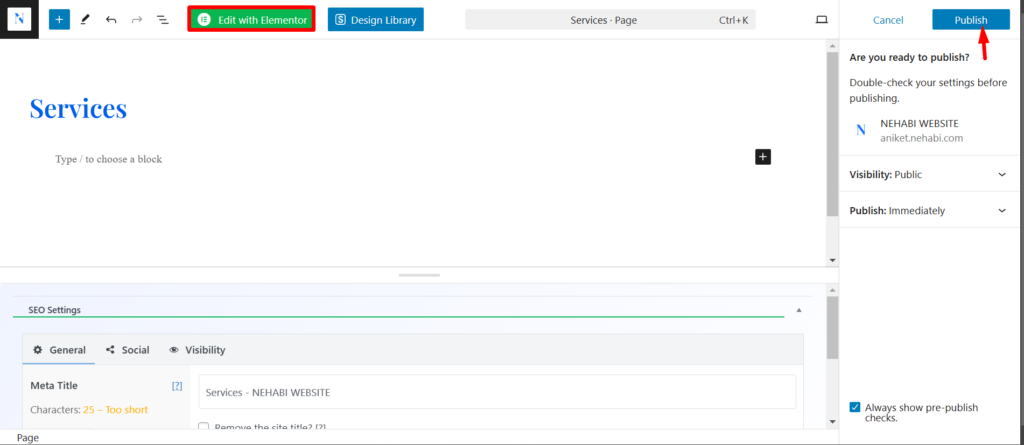
Step 3
After entering your new page title, click on “Publish” to save and make it live on your website. Then, click on “Edit with Elementor” to customize the page using Elementor’s drag-and-drop editor.
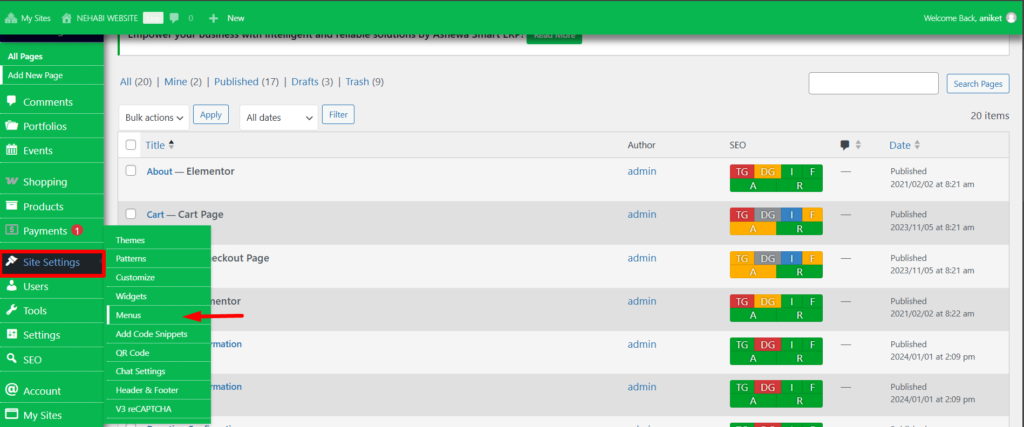
Step 4
Now, return to the dashboard and navigate to “Site Settings” and “Menu” to ensure the new page appears on your website’s navigation.
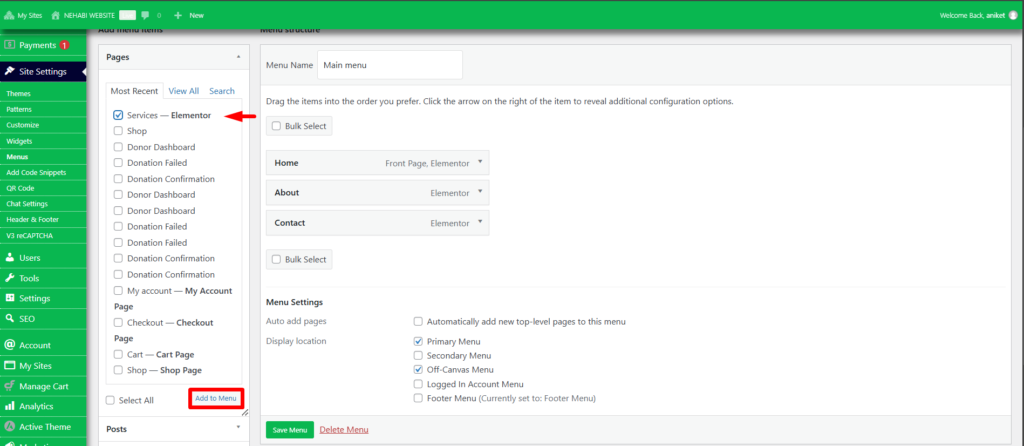
Step 5
In the Menu section, locate the new page you previously saved. Check the box next to it, then click “Add to Menu” to include it in your website’s navigation. You will also find that it can be edited with Elementor for further customization.
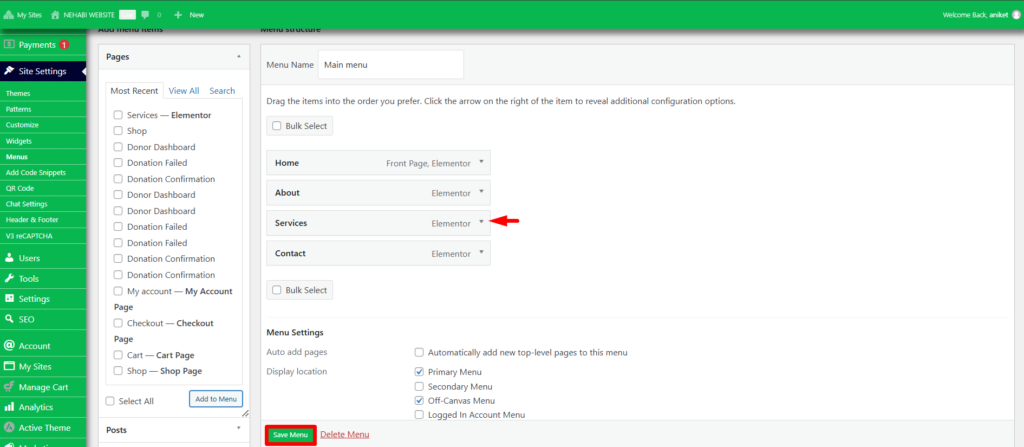
Step 6
The new page will now appear in the main menu. Click “Save Menu” to apply the changes.
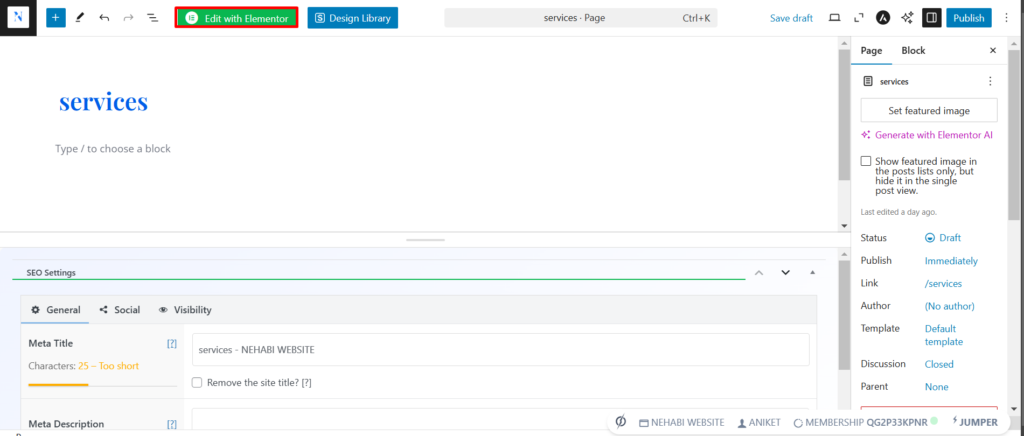
Step 7
Click on “Edit with Elementor” to start customizing your new page using Elementor’s drag-and-drop editor.
Step 8
You can start editing by clicking on the plus (+) sign to add a new section or widget to your page.
