Step 1
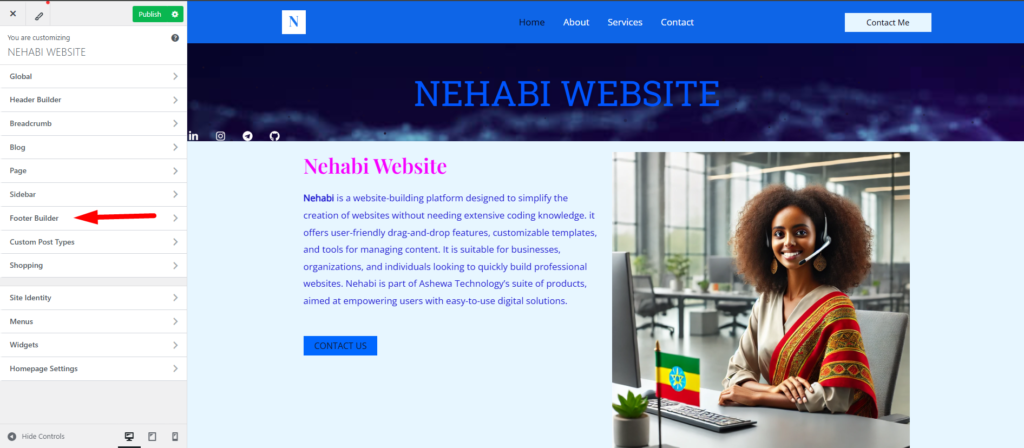
The red arrow in the image is highlighting the Footer Builder option within the website customization panel. The Footer Builder is a tool that allows you to design and customize the footer section of your website. This section typically appears at the very bottom of every page and may include important elements such as:
By clicking on Footer Builder, you can adjust the layout, add or remove elements, and style the footer to match your website’s overall design. This ensures a consistent and professional look across your site.
Step 2
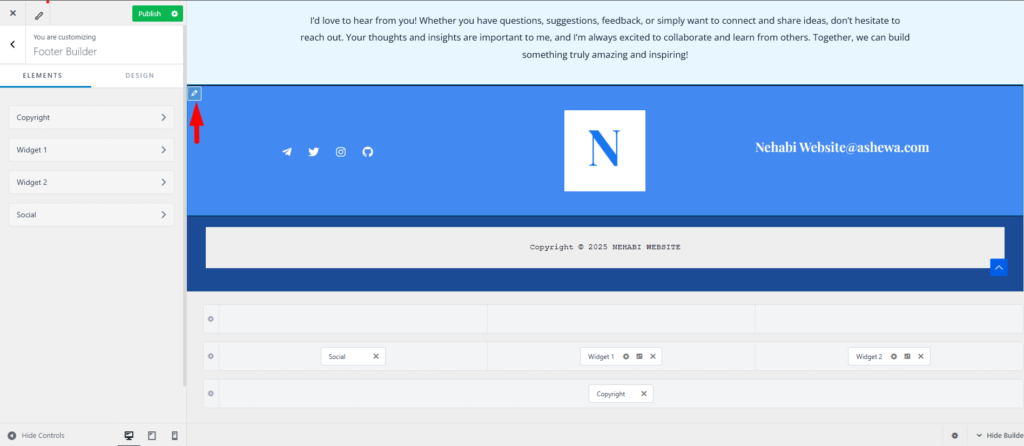
“Click” on the pencil to edit upper footer box.
Step 3
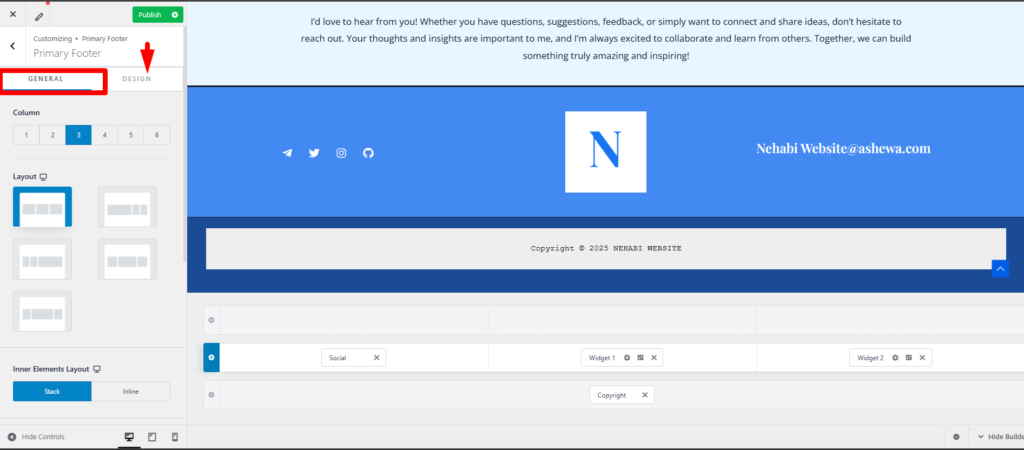
You can change the lay out of the footer and to go further go ahead and click on “Design”.
Step 4
To change the background color.

Step 5
To change the logo of the footer click on the pencil shown by the red arrow.
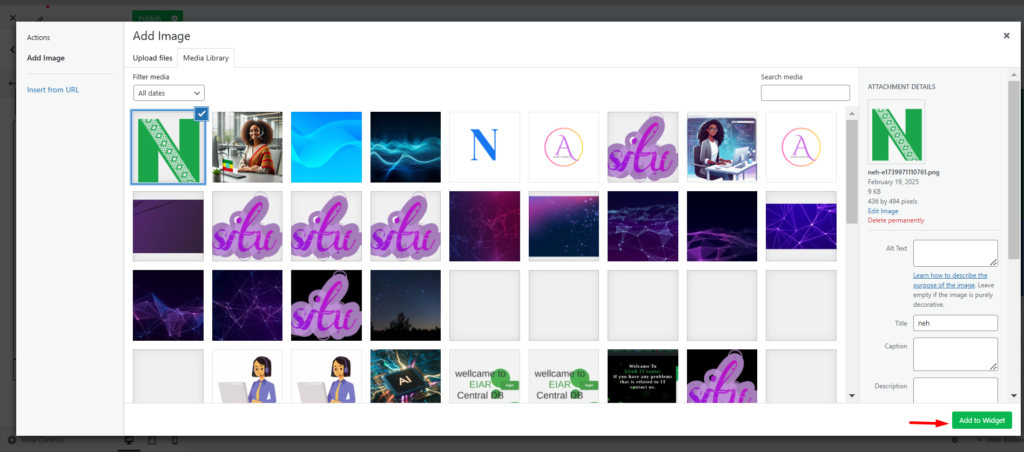
Step 6
Once you are satisfied with your choice click on “Add to widget”.
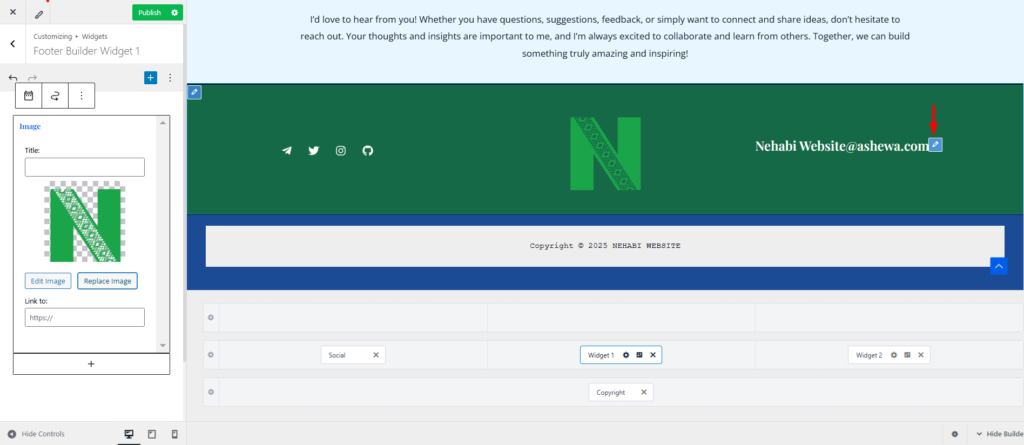
Step 7
To change the email address you can click on the pencil.
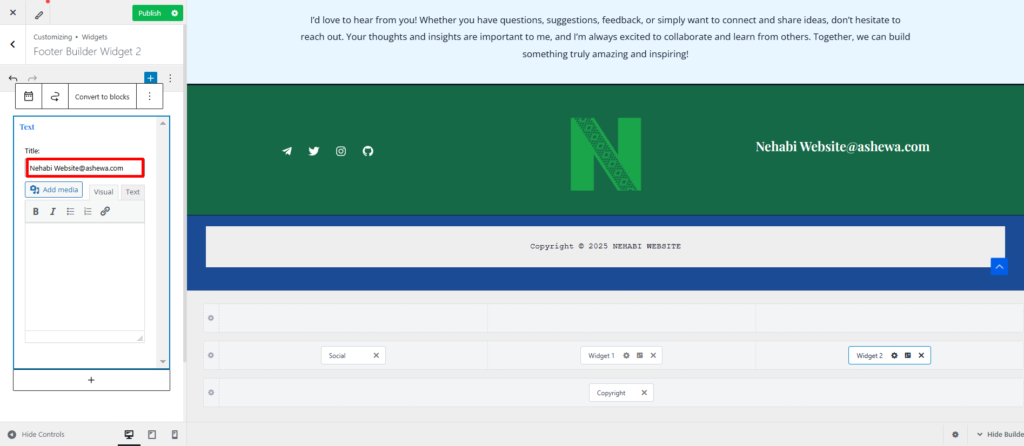
Step 8
Change the appropriate email in the red box shown below.
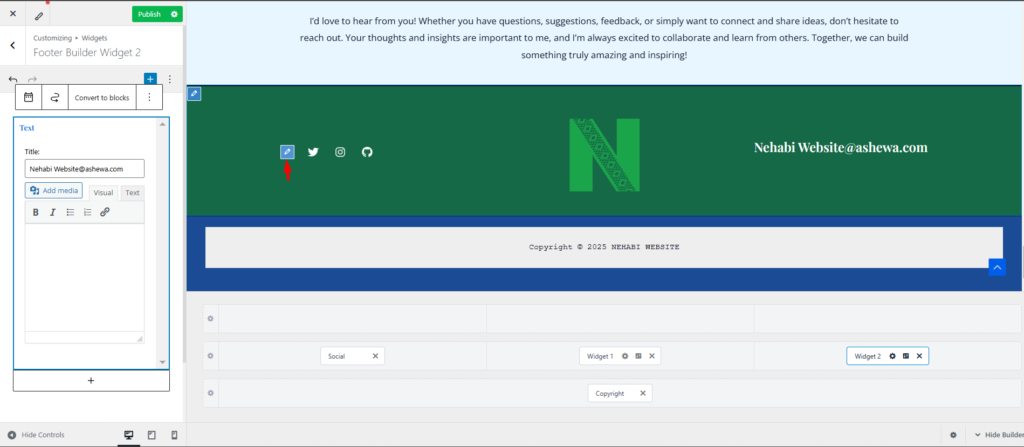
Step 9
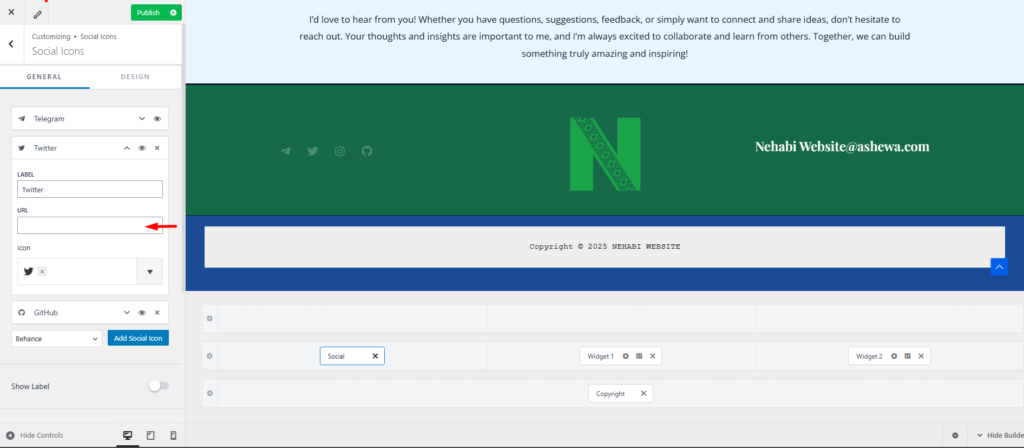
To customize the social media and even add a new one click on the pencil shown by the red arrow below.
Step 10
Add your URL where the red arrow shows.
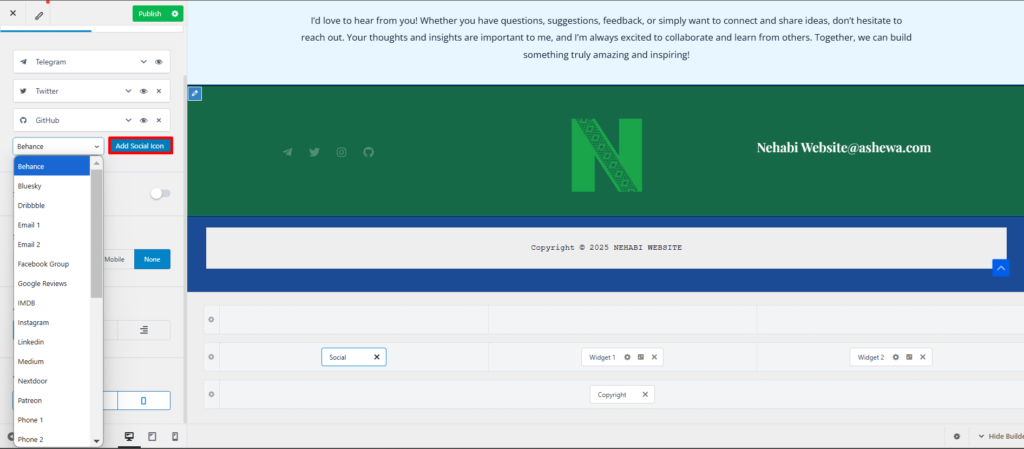
Step 11
You can also add new social media. find the one you want in the scroll down then click on “Add social icon”.
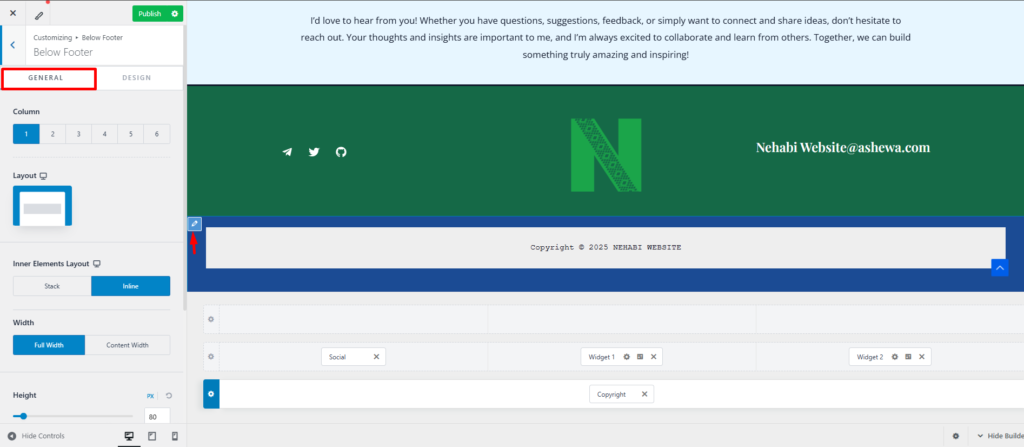
Step 12
Click on the “pencil” shown by the red arrow to customize the lower part of the footer. you can change the lay out in general section as shown in the red box.
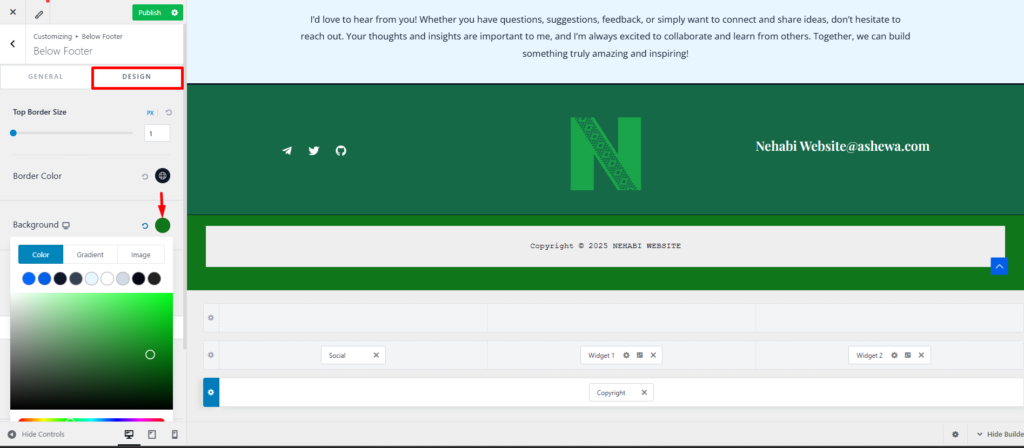
Step 13
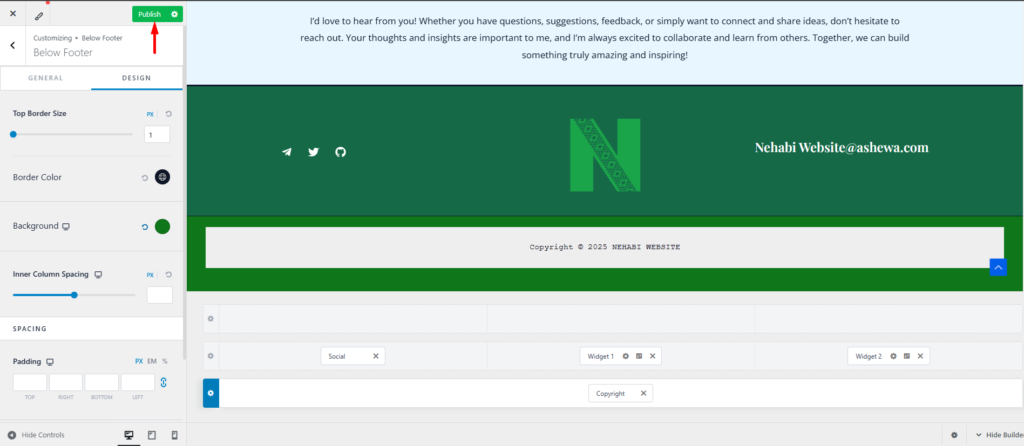
In the Design section you can change the color of the background as shown in the image below.
Step 14
Once you’re satisfied with your choices and have made all the desired customizations, don’t forget to click “Publish” to make the changes permanent and live on your website.