Step 1
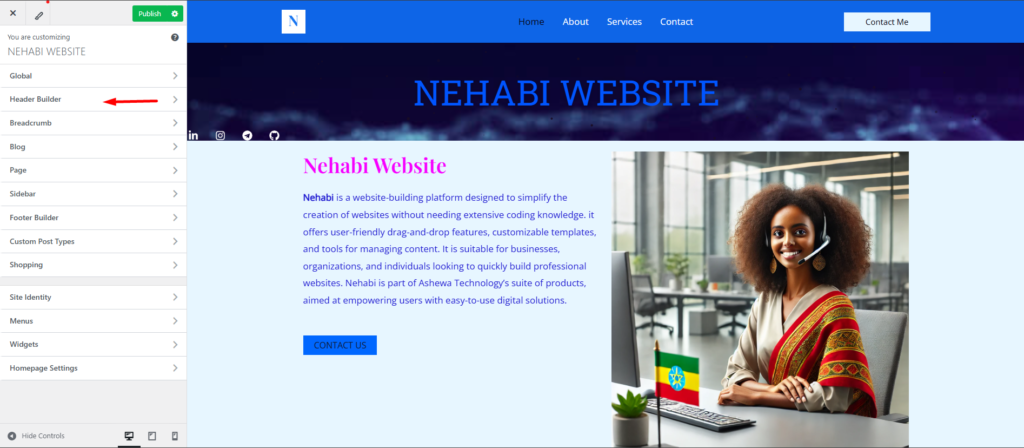
The red arrow points to the “Header Builder” option. This tool is typically used to design and customize the header section of the website, including elements like the logo, site title, and other components visible at the top of the site.
Step 2
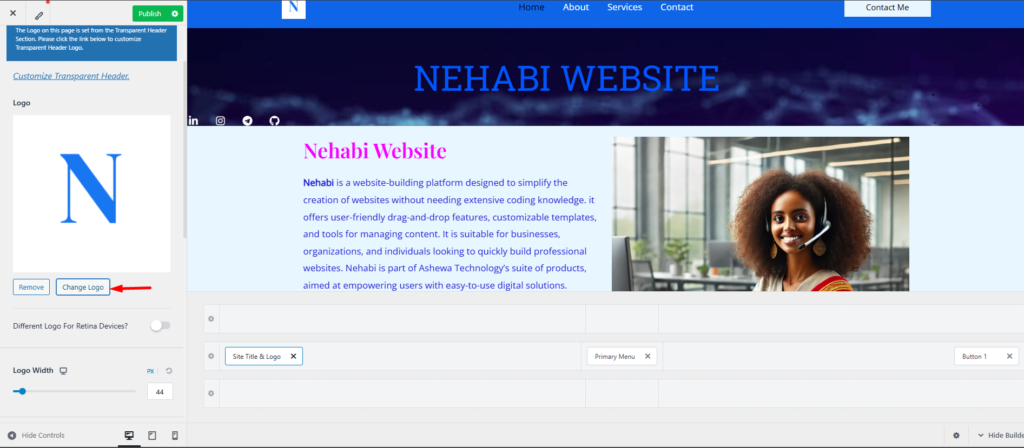
To edit the logo and site title, click on the “Logo and Site Title” button highlighted in the image above. This section allows you to customize your website’s branding by uploading a new logo, changing the site title, and updating the tagline as needed.
Step 3
To update the logo, simply click on the “Change Logo” button. This will allow you to upload a new logo or select an existing one from your media library, ensuring your website reflects your desired branding.
Step 4
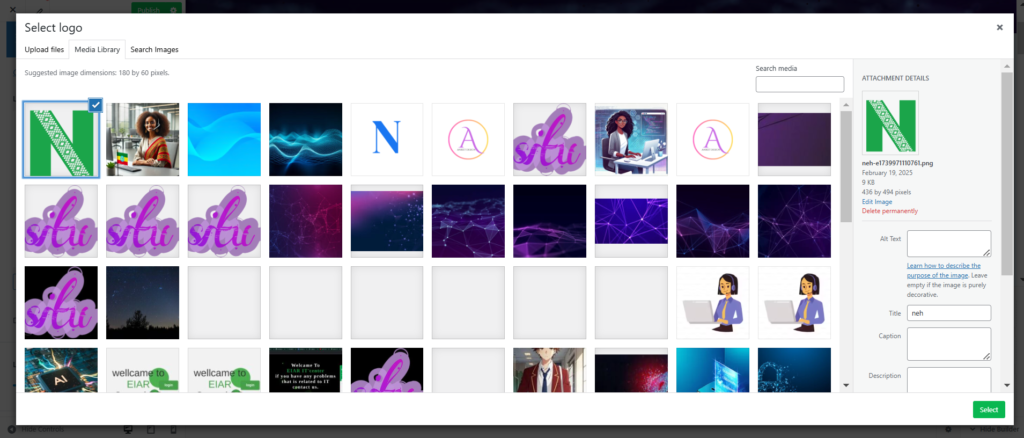
Once you are satisfied with your selection, click on the “Select” button to confirm and apply your chosen logo to the website.
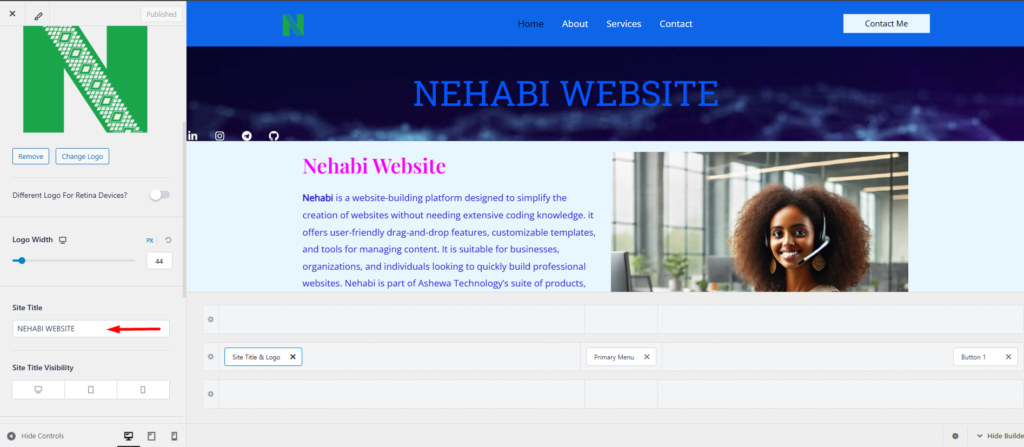
Step 5
To change the site title, scroll down in the customization panel and update the title in the section indicated by the red arrow. This will allow you to modify the site’s name to better reflect your brand or website identity.
Step 6
To modify the transparent header, navigate back to the Header Builder section. From there, locate the Transparent Header settings, where you can adjust the header bar’s appearance, including its background, colors, and layout.
Step 7
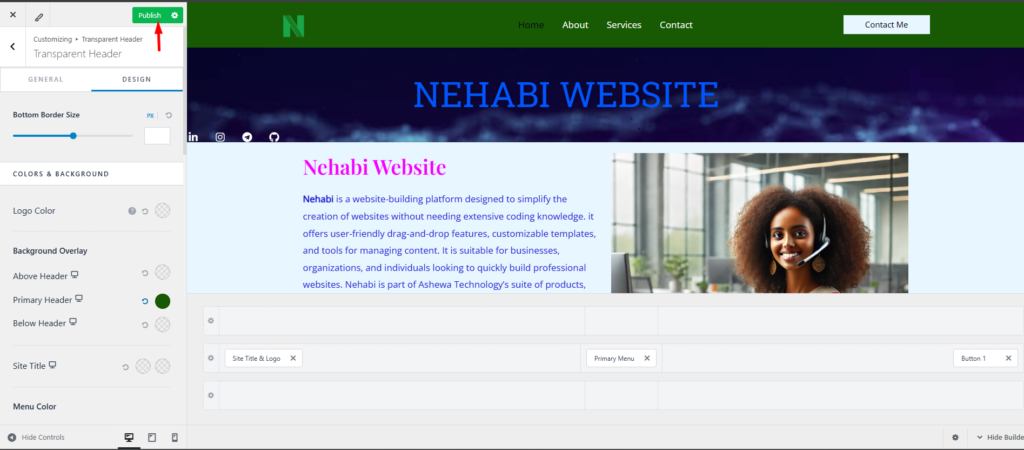
You can enable or disable the General settings based on your preferences. For further customization, navigate to the Design tab, where you can adjust colors, backgrounds, and other styling options to enhance the appearance of the transparent header.
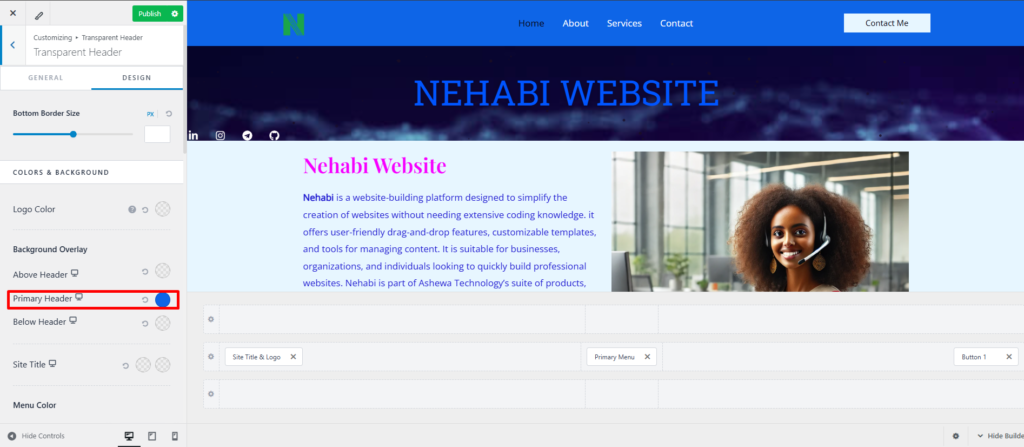
Step 8
You can change the background of the header bar in the Primary Header section. As shown in the image, the red box highlights where you can modify the background color or apply an overlay to customize the appearance of the transparent header.
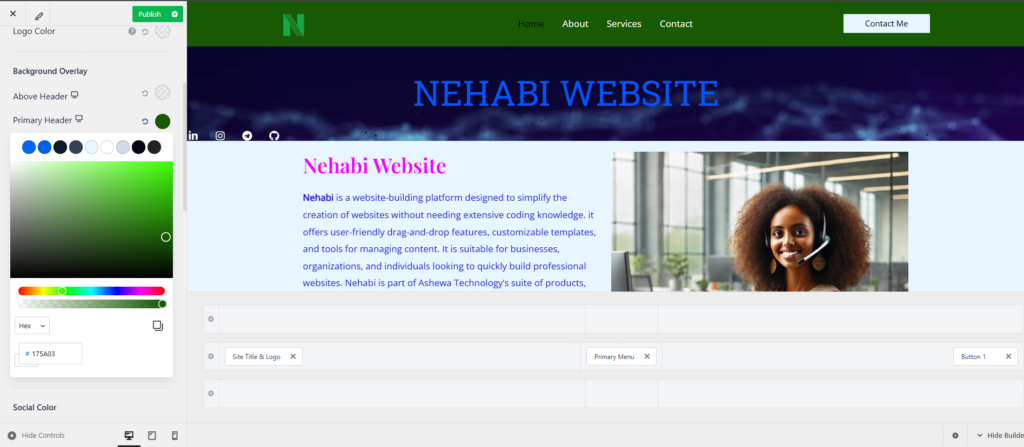
Step 9
Step 10
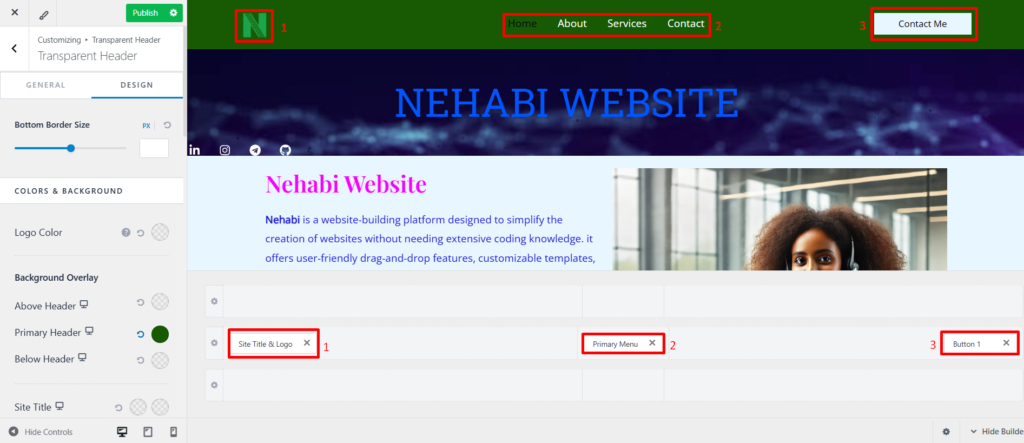
The red boxes in the image highlight corresponding elements in the Nehabi Customizer panel and the live preview of the website. Here’s what each red box represents:
- Site Title & Logo (Left Side)
- Top (Live Preview): Shows the website logo (“N” in green).
- Bottom (Customizer Panel): The “Site Title & Logo” section in the customizer, which controls the logo placement in the header.
- Primary Menu (Middle)
- Top (Live Preview): The navigation menu (Home, About, Services, Contact).
- Bottom (Customizer Panel): The “Primary Menu” section in the customizer, which determines where the menu is placed in the transparent header.
- Button 1 (Right Side)
- Top (Live Preview): The “Contact Me” button.
- Bottom (Customizer Panel): The “Button 1” section in the customizer, allowing customization of this button.
Step 11
Once you have finished customizing the settings, don’t forget to click the “Publish” button to save and apply your changes to the website.